2D Design & Cutting

The Jewelry Tree

Assignment

This week's assignment was to design and create a press-fit construction kit using a laser cutter.


Materials and Software Used

Laser cutter, Fusion 360, Adobe Illustrator, Inkscape, vinyl cutter


Background

A laser cutter is a tool used to make precise cuts on materials by directing the output of a high power laser. After creating the cut on a CAD software, one can customize the settings of the laser cutter by altering the following parameters:

Speed: how fast the laser makes the cut; a lower speed is better for finer details

Power: intensity of the laser beam; careful though -- too much and you'll need a fire extinguisher!

Other terms that were discussed:

Kerf: the amount of material cut out in addition to the cuts made due to the laser burns.

CAD Parameters: defining parameters is an important practice that should be employed in each CAD project so it can be easy to alter later in the project if need be

Fillets: rounded corners or edges that are used to reduce stress or get rid of sharp angles.


My Press Fit Construction

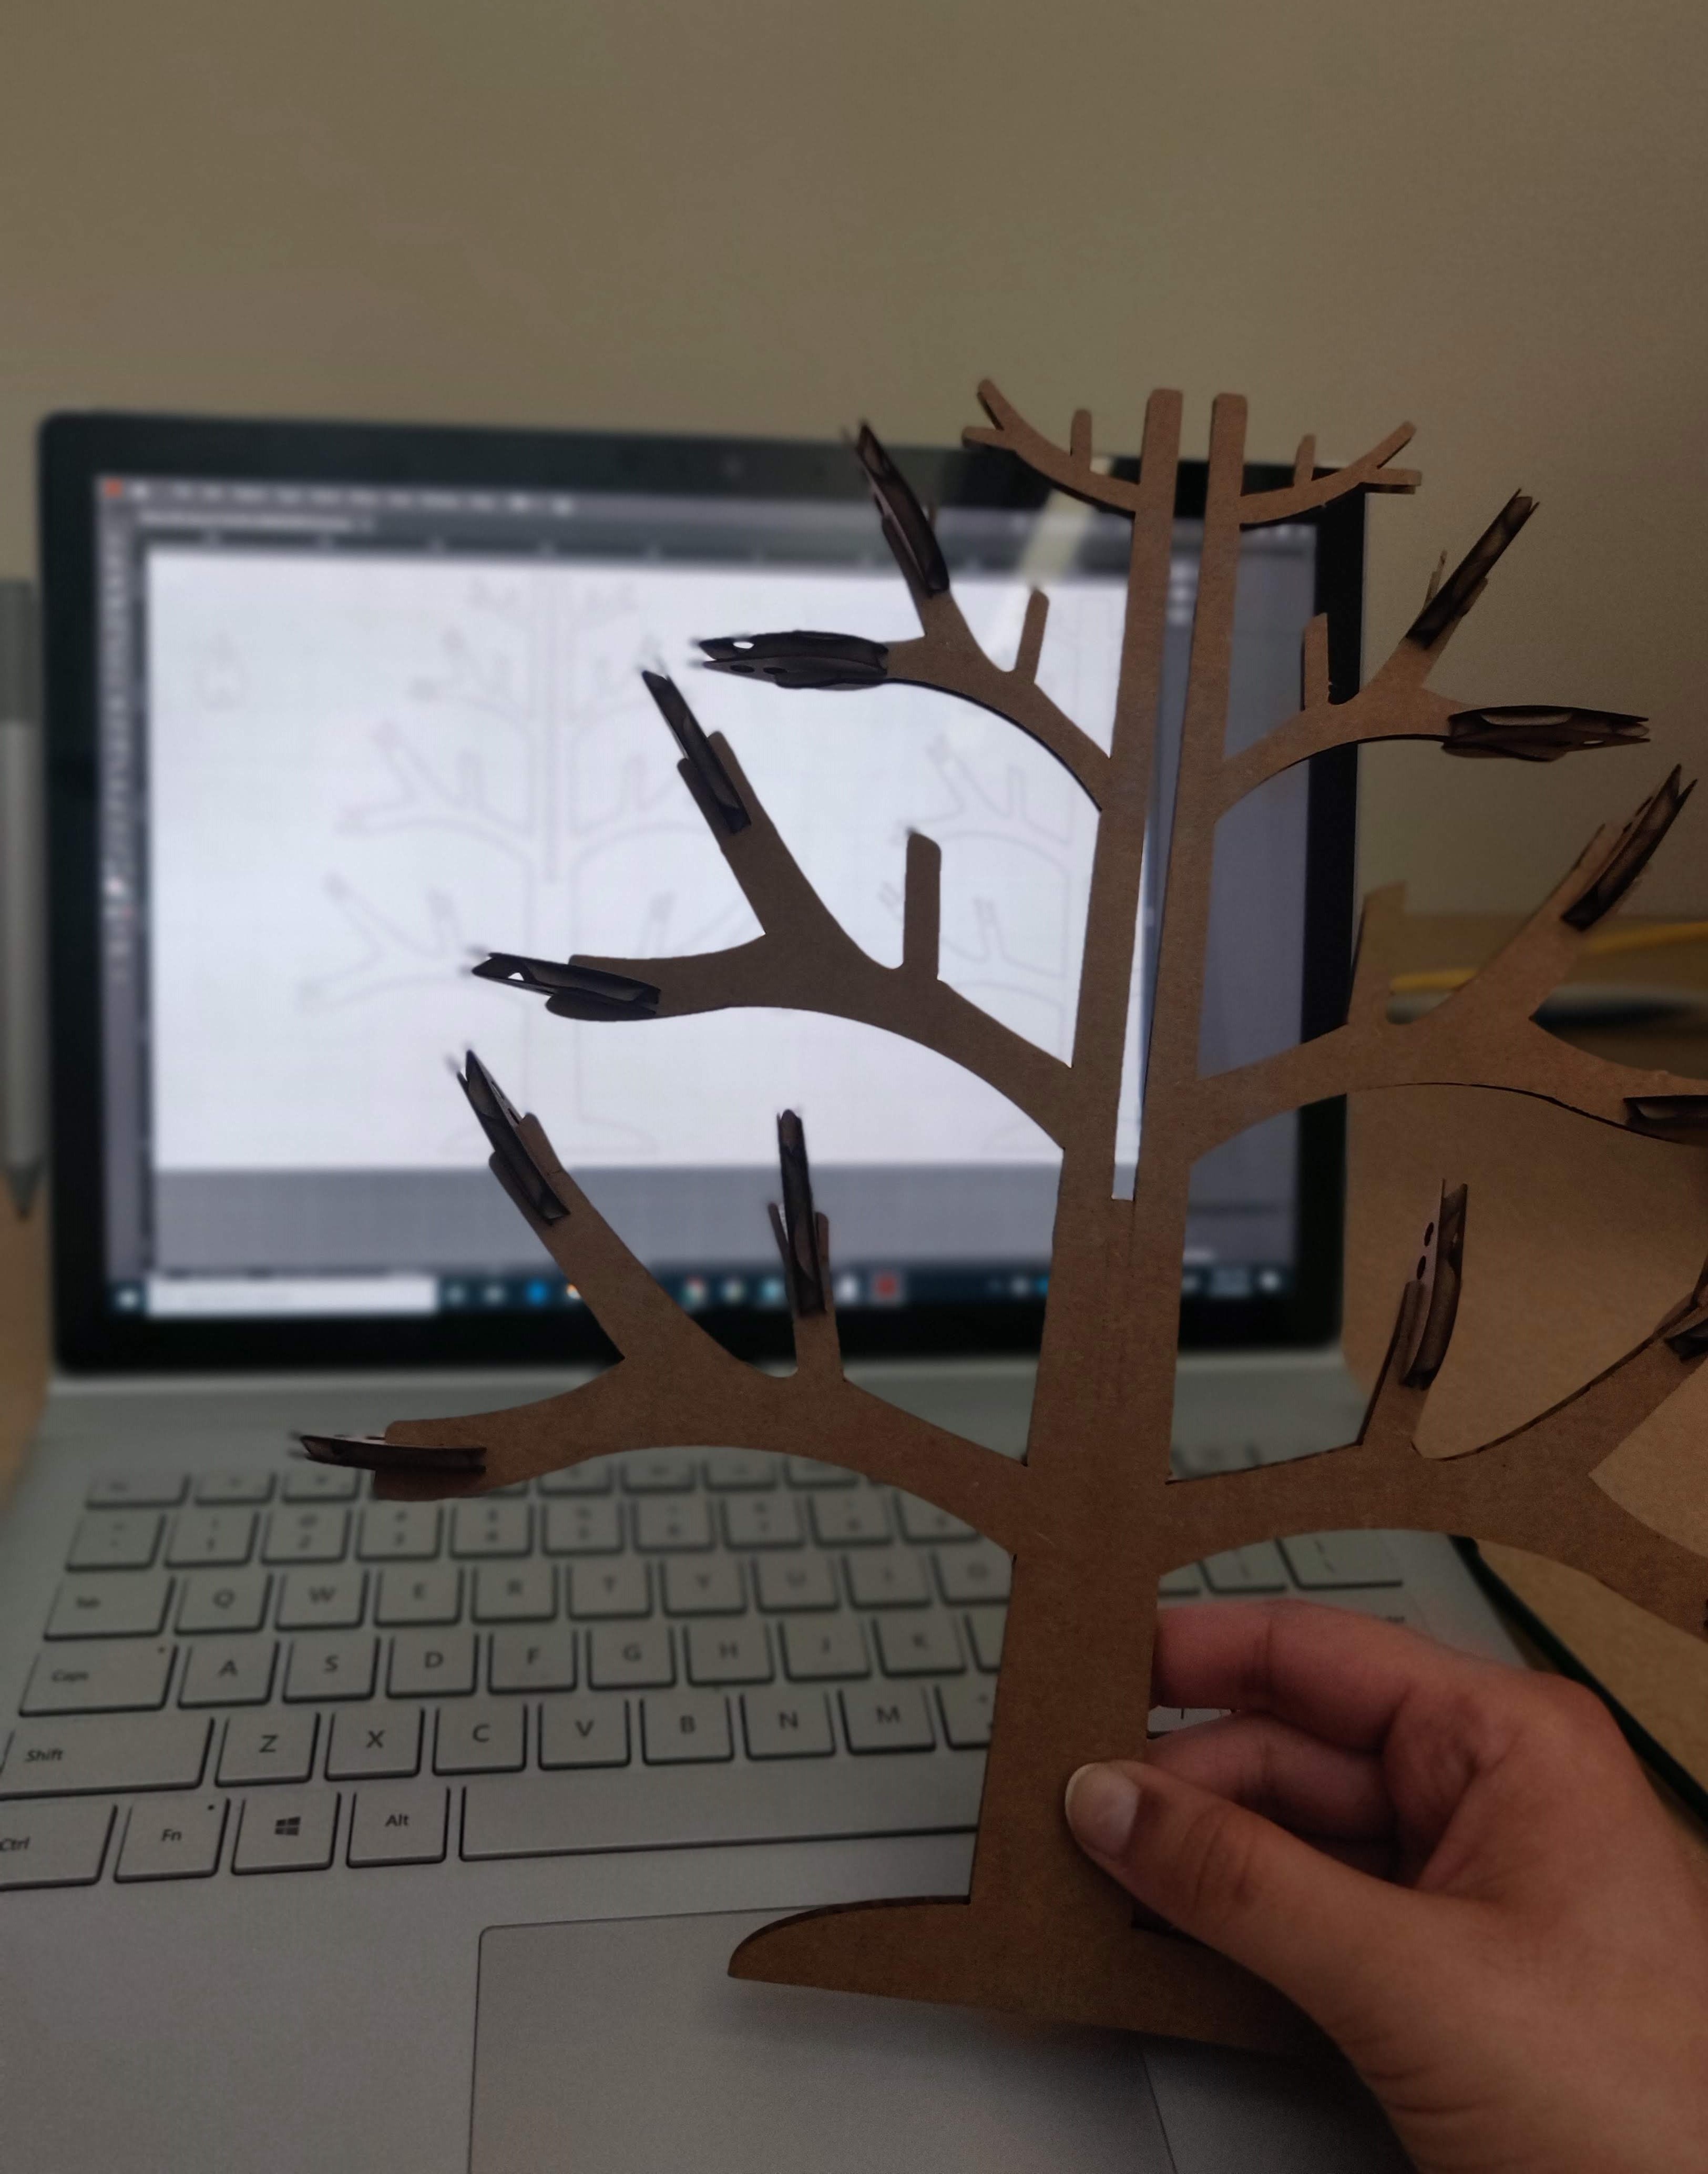
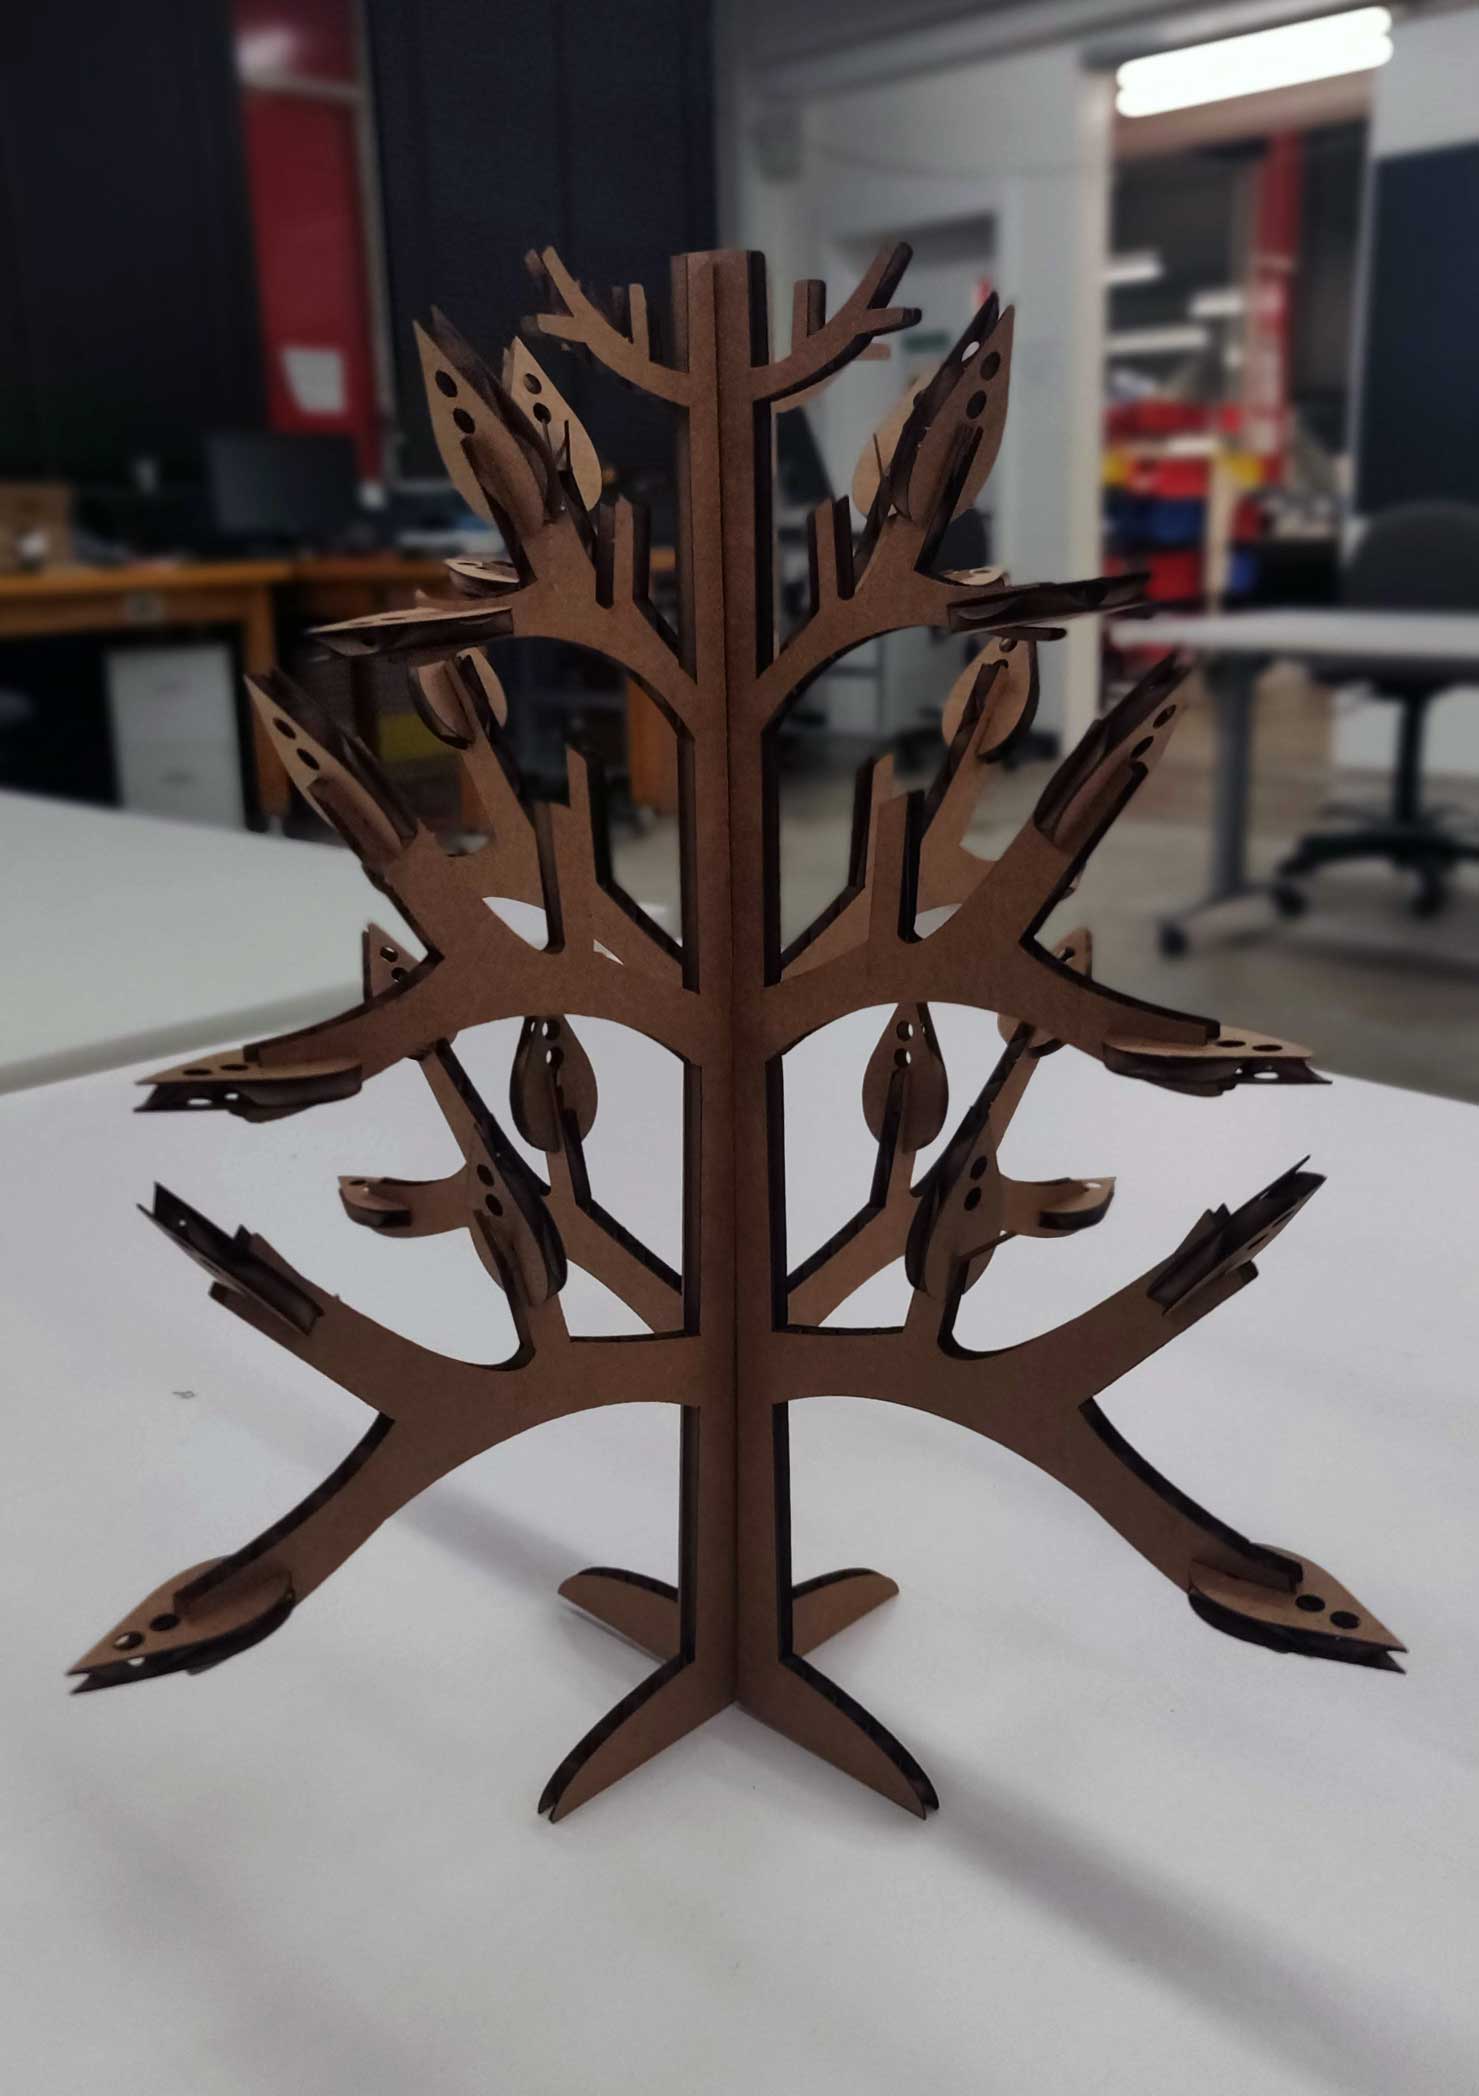
Inspired by a design done earlier in the MIT Fab Lab, the jewelry tree comes after my roommate was attempting to organize her necklaces and earings which very much sit in a jumbled pile on her vanity.

I decided to use Adobe Illustrator to create the shape of the tree since I already have some experience in navigating the software and can be used to make precise curves and edges.


Using the design mentioned above, I used the general shape of the leaves and the tree but customized the branches in a way that was easier to create with the pen tool on Illustrator. After finding the thickness of the cardboard (4.42 mm), I created the notches on the leaves and branches as well as the tree bark, making sure to make the widths slightly smaller to account for the kerf (this was done mostly through approximation).

It was difficult to navigate the pen with the given constraints but I was able to work my way around by creating my own ruler using the rectangle tool (the rulers weren't that accurate and required some eye straining...).

Image


lasercutgif

Using the design mentioned above, I used the general shape of the leaves and the tree but customized the branches in a way that was easier to create with the pen tool on Illustrator. After finding the thickness of the cardboard (4.42 mm), I created the notches on the leaves and branches as well as the tree bark, making sure to make the widths slightly smaller to account for the kerf (this was done mostly through approximation).

It was difficult to navigate the pen with the given constraints but I was able to work my way around by creating my own ruler using the rectangle tool (the rulers weren't that accurate and required some eye straining...).

I set the minimum power to 100%, the max power to 100%, and the speed to 50 (need units).


The pieces after the cut:

It turned out a lot better than I thought and I was quite surprised that my approximations led to perfect fits for all of the leaves! Some of the branches were a little too thin at the ends and so some of it broke off but hey, if you can't see it, it doesn't exist!

lasercut


And walla! The finished product:


lasercut