Assignment
This week's assignment was to learn how to use a slicer and 3D printer to make objects that would otherwise be much more difficult to fabricate using subtractive methods.
Materials and Software Used
Multimaker, Prusa, Prusa/Multimaker Slicer software, PLA, Sense Scanner
Background
3D printing is the process that builds a 3-dimensional object from a computer-aided design model by adding material, often some type of plastic, through a process called additive manufacturing. Due to budget constraints, Harvard allows its students the finest of printers -- Multimaker 2+ and Prusa i3 -- and if you're kind enough, one of the Formlabs printers, which use resin-based material.
Arduino Uno Enclosure
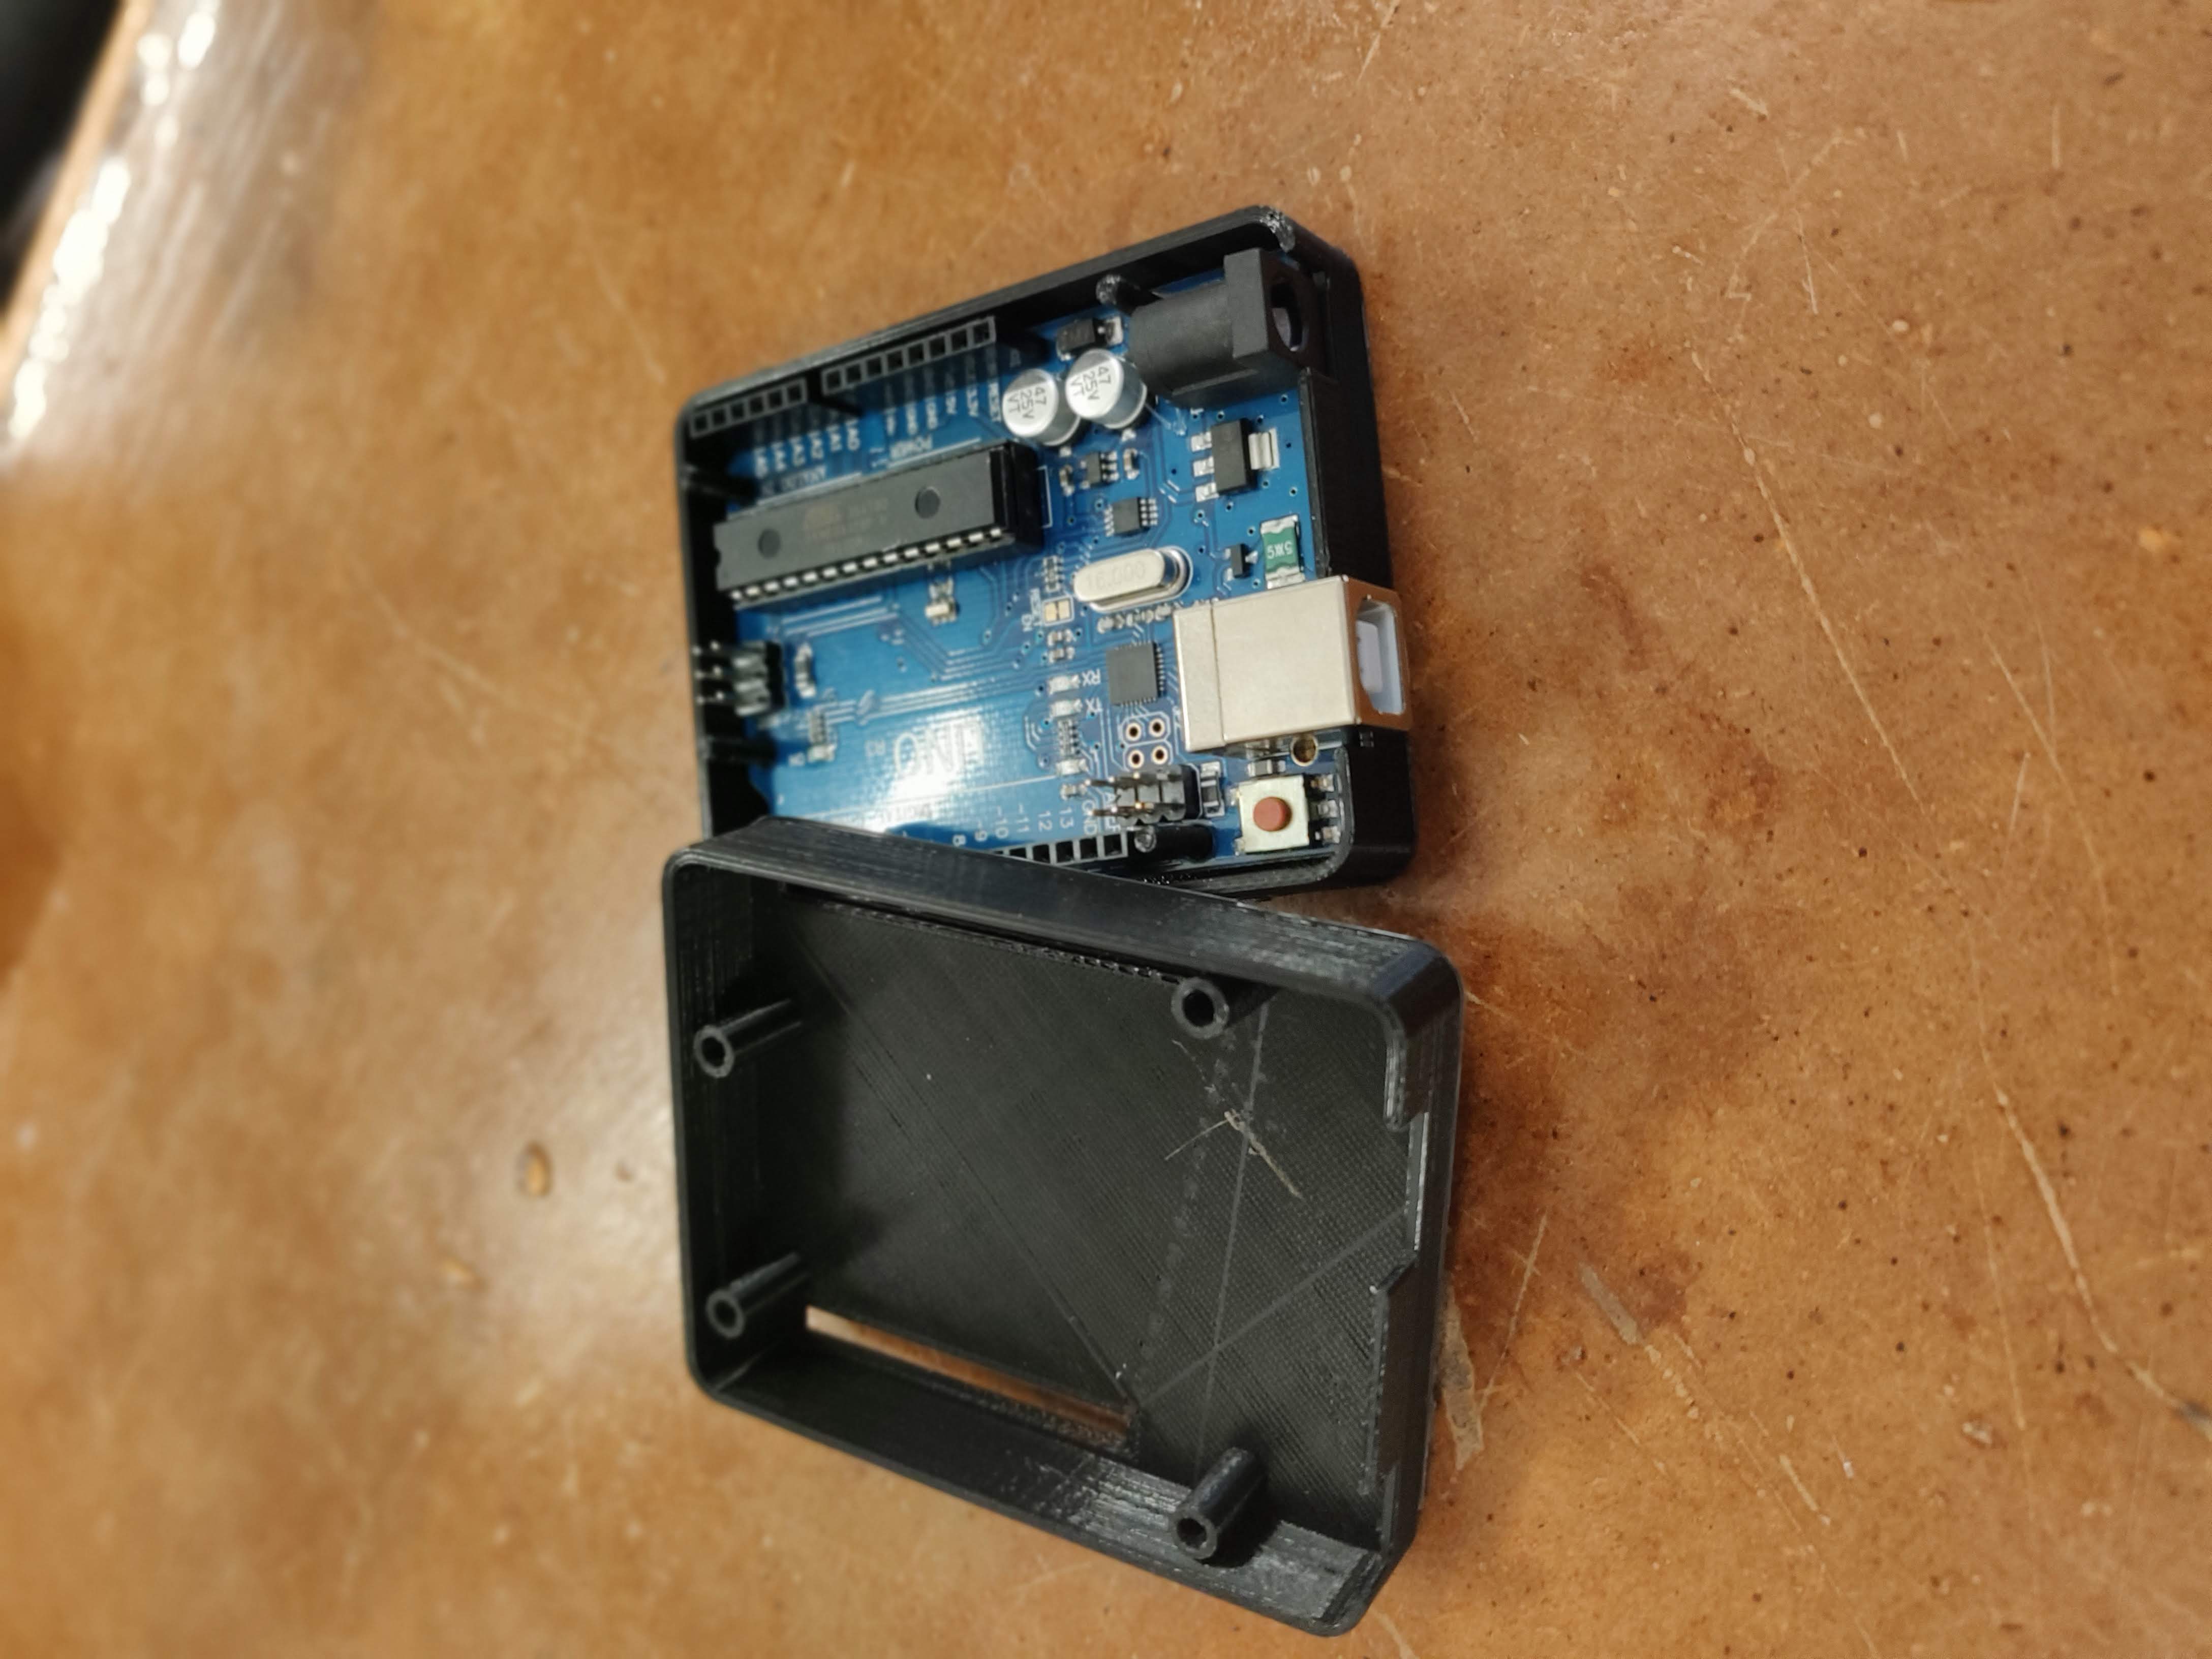
Continuing with the goal of making a tiny autonomous skateboard, I decided to design and print an enclosure for the Arduino Uno which will be microcontroller driving the four-wheeled plank. The Uno is easy to use, debug, and has an extensive docummentation online (it's also available for free in lab!) so that was a nobrainer. Only anoying thing -- this boy is pretty big. The skateboard will be slightly larger than tiny.
But... here is the finished product! Following the Fusion360 tutorials online, I created two rectangles that were then extruded and joined with inserts/standoffs that were placed at the exact locations of the holes on the Uno board. Surprisingly, it was a perfect fit!
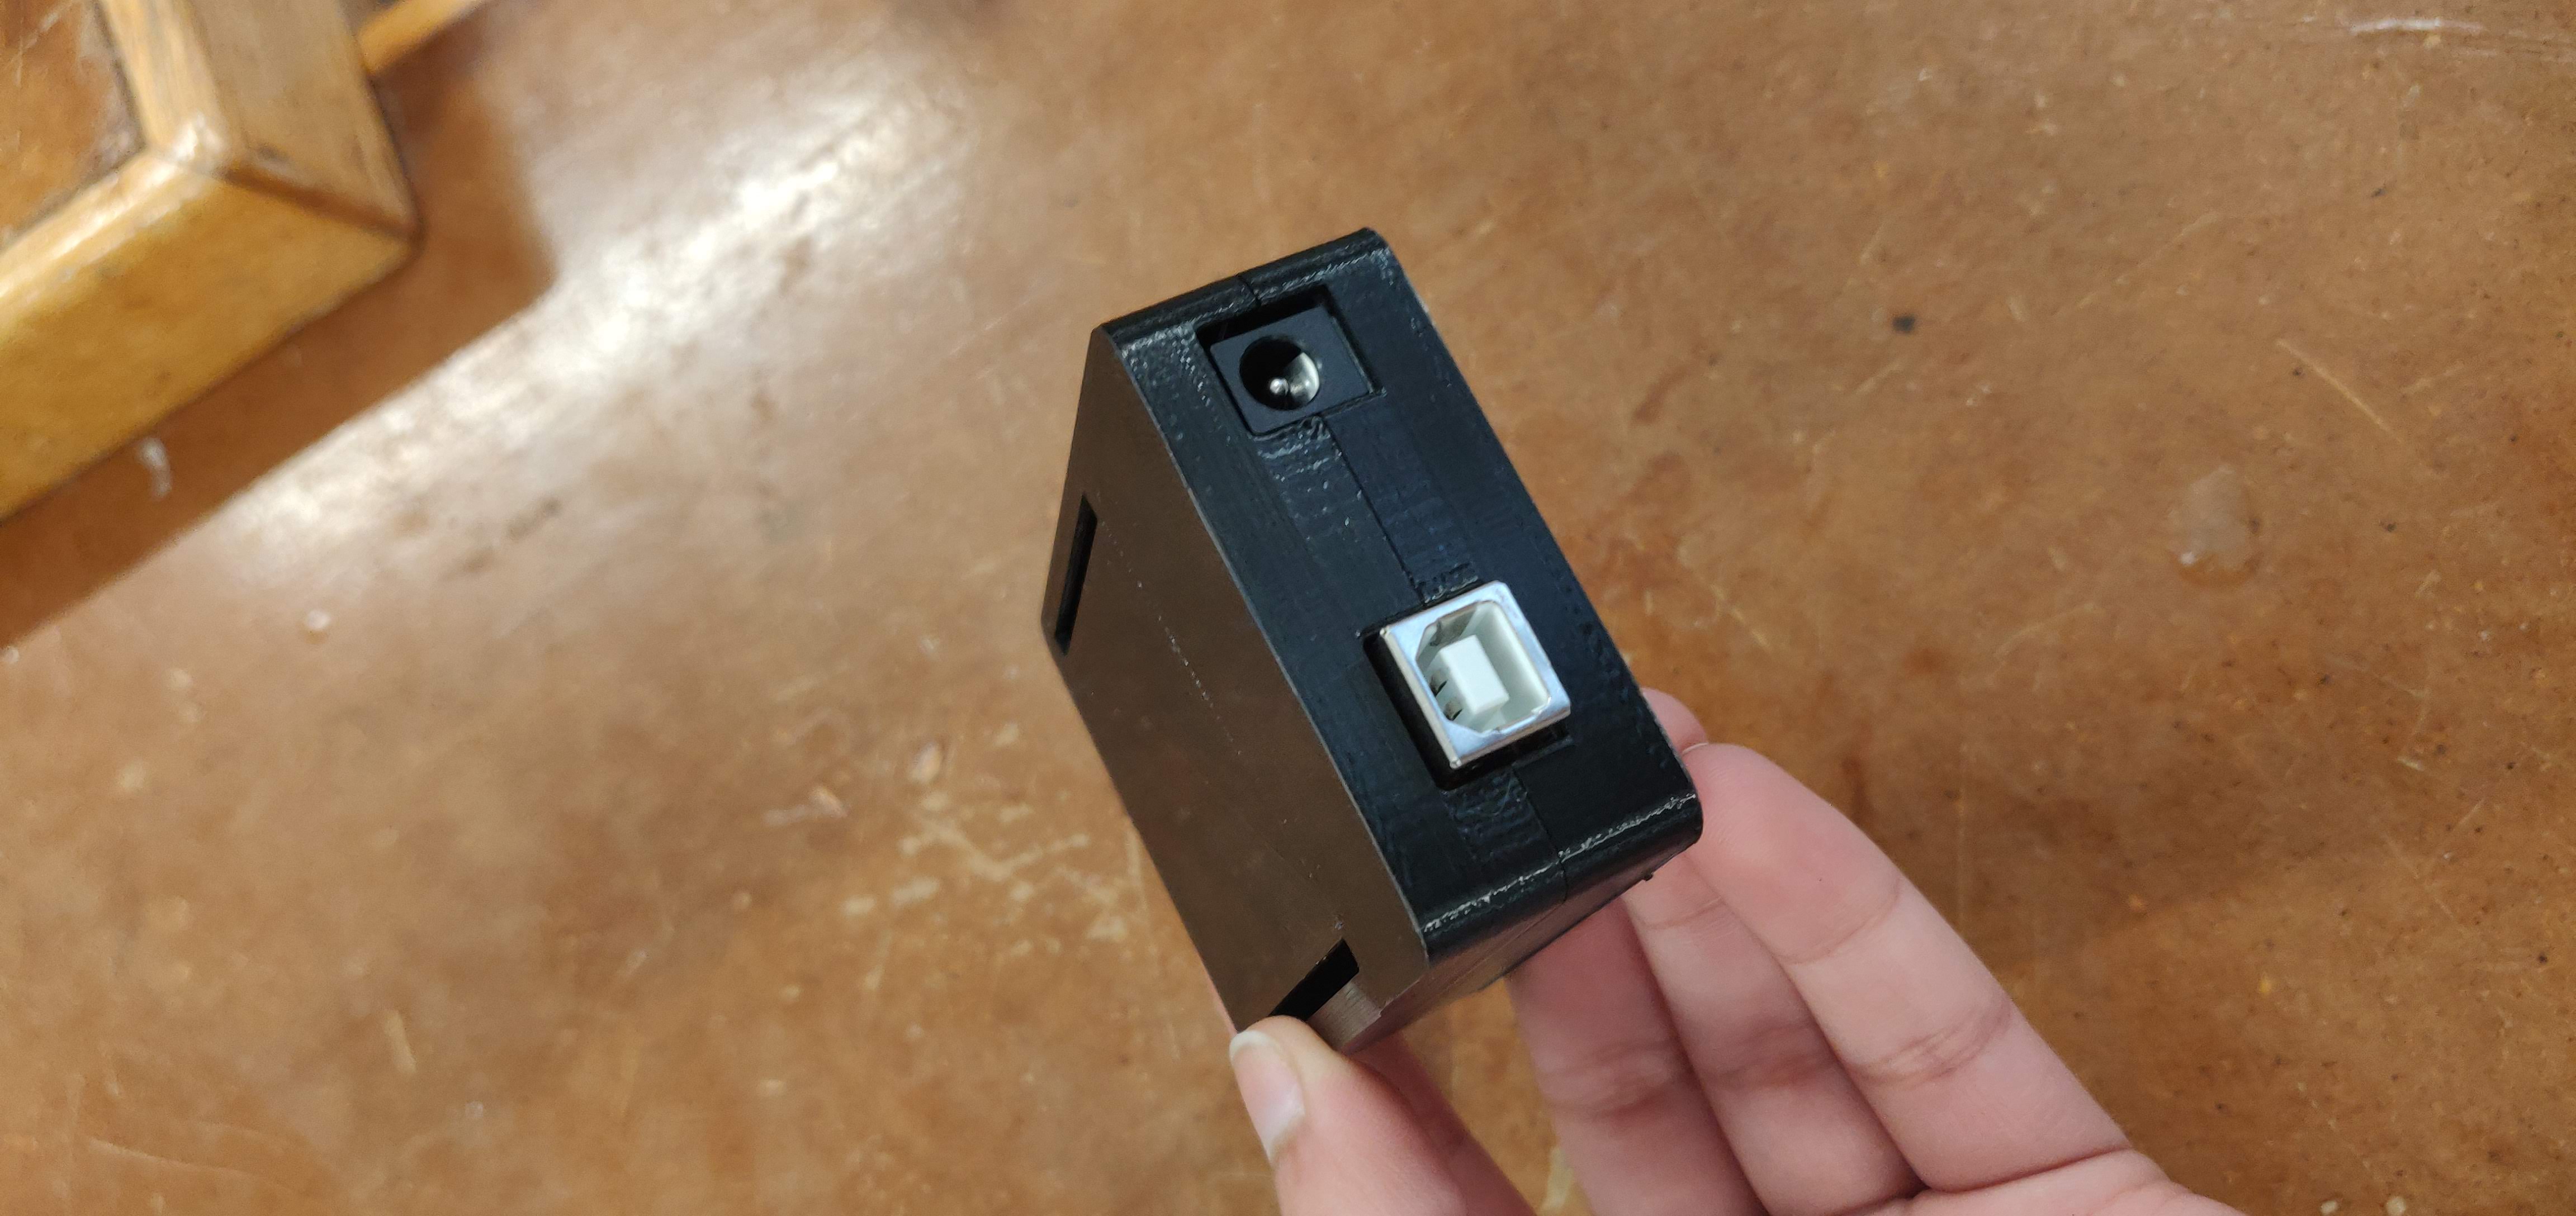
After importing the Uno onto Fusion (thank you to whoever decided to create the Uno on Fusion from scratch -- hope you are earning big bucks at your engineering gig), I projected it onto one of the sides to create the connecting ports which extrude from the box. I could have added some creative design on the top but I want to keep it simple and don't want extraneous material from landing into the box -- plus, it will be glued onto the bottom of the board so you won't be able to see that side anyway.

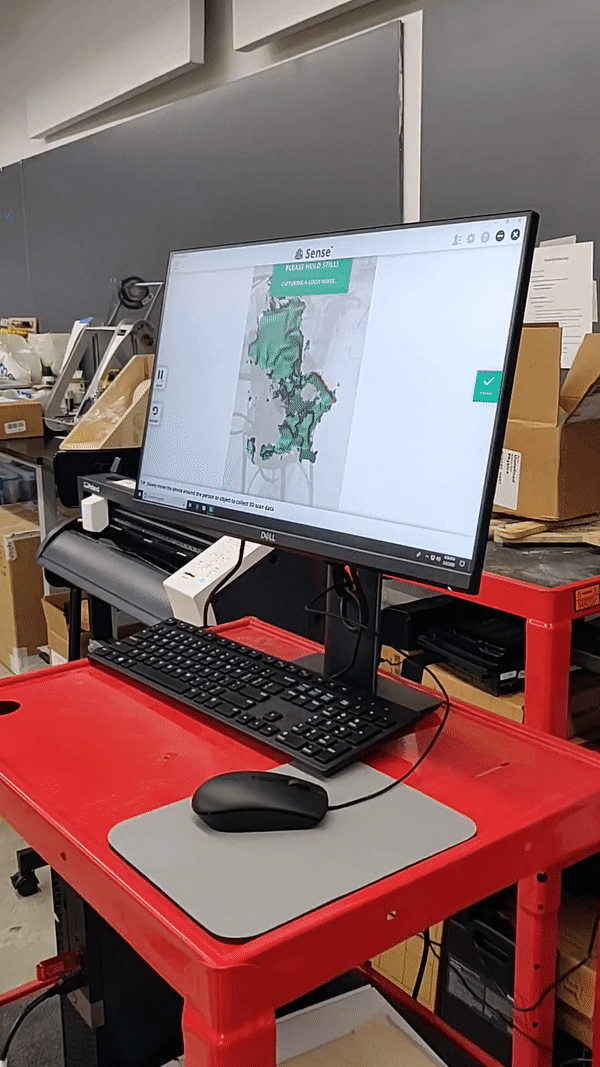
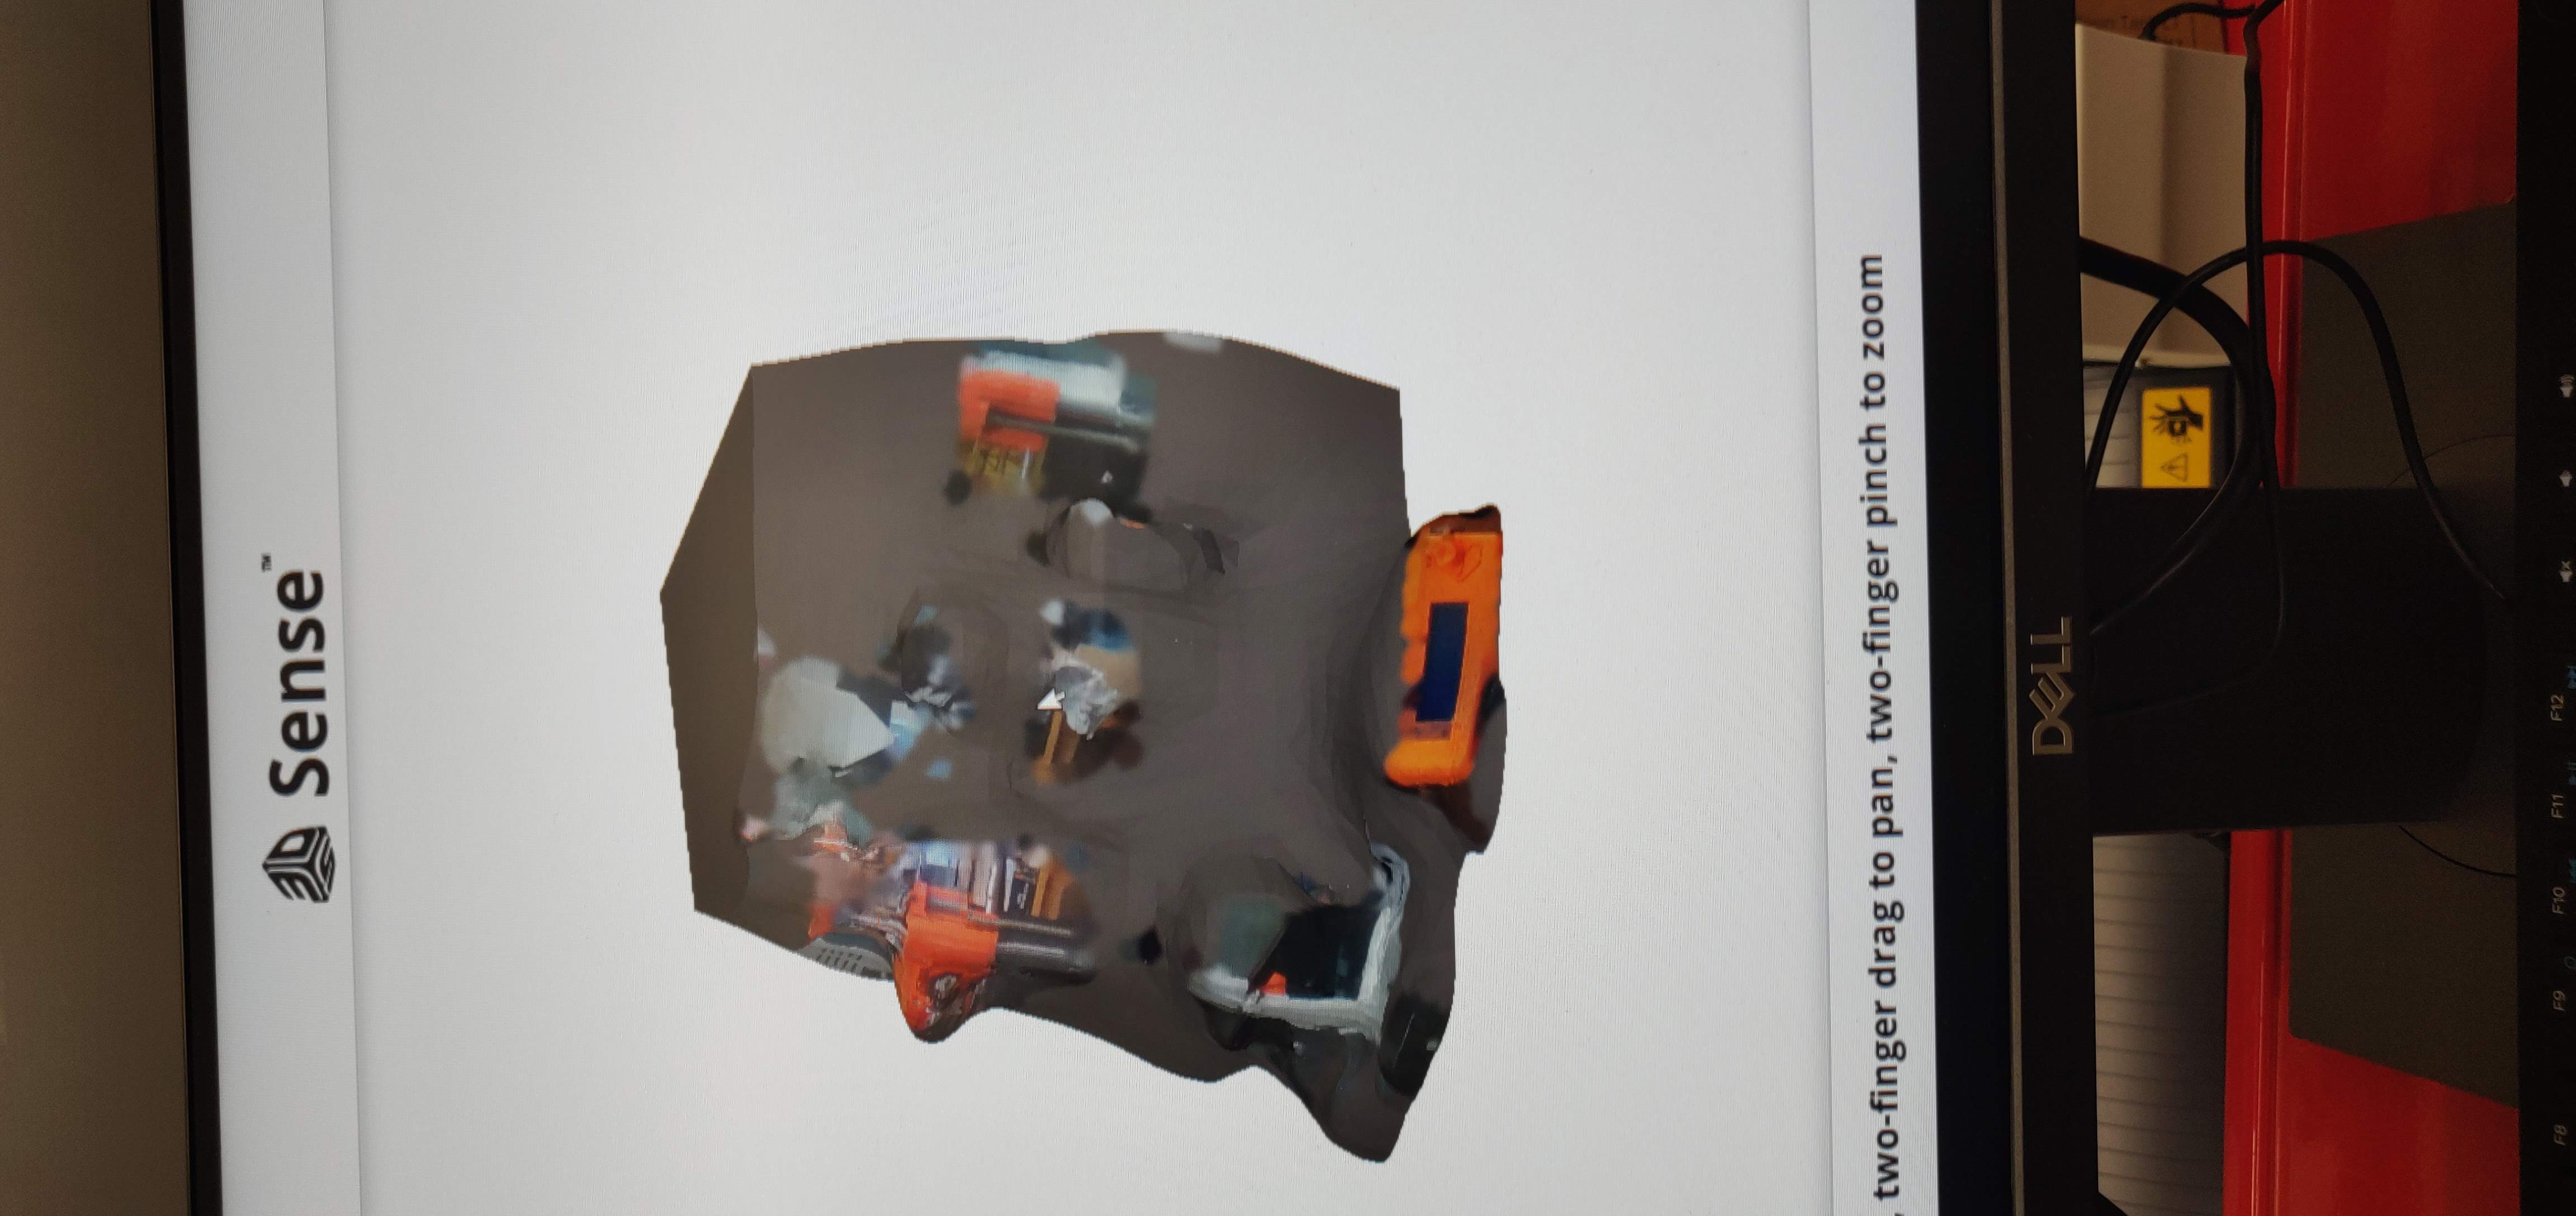
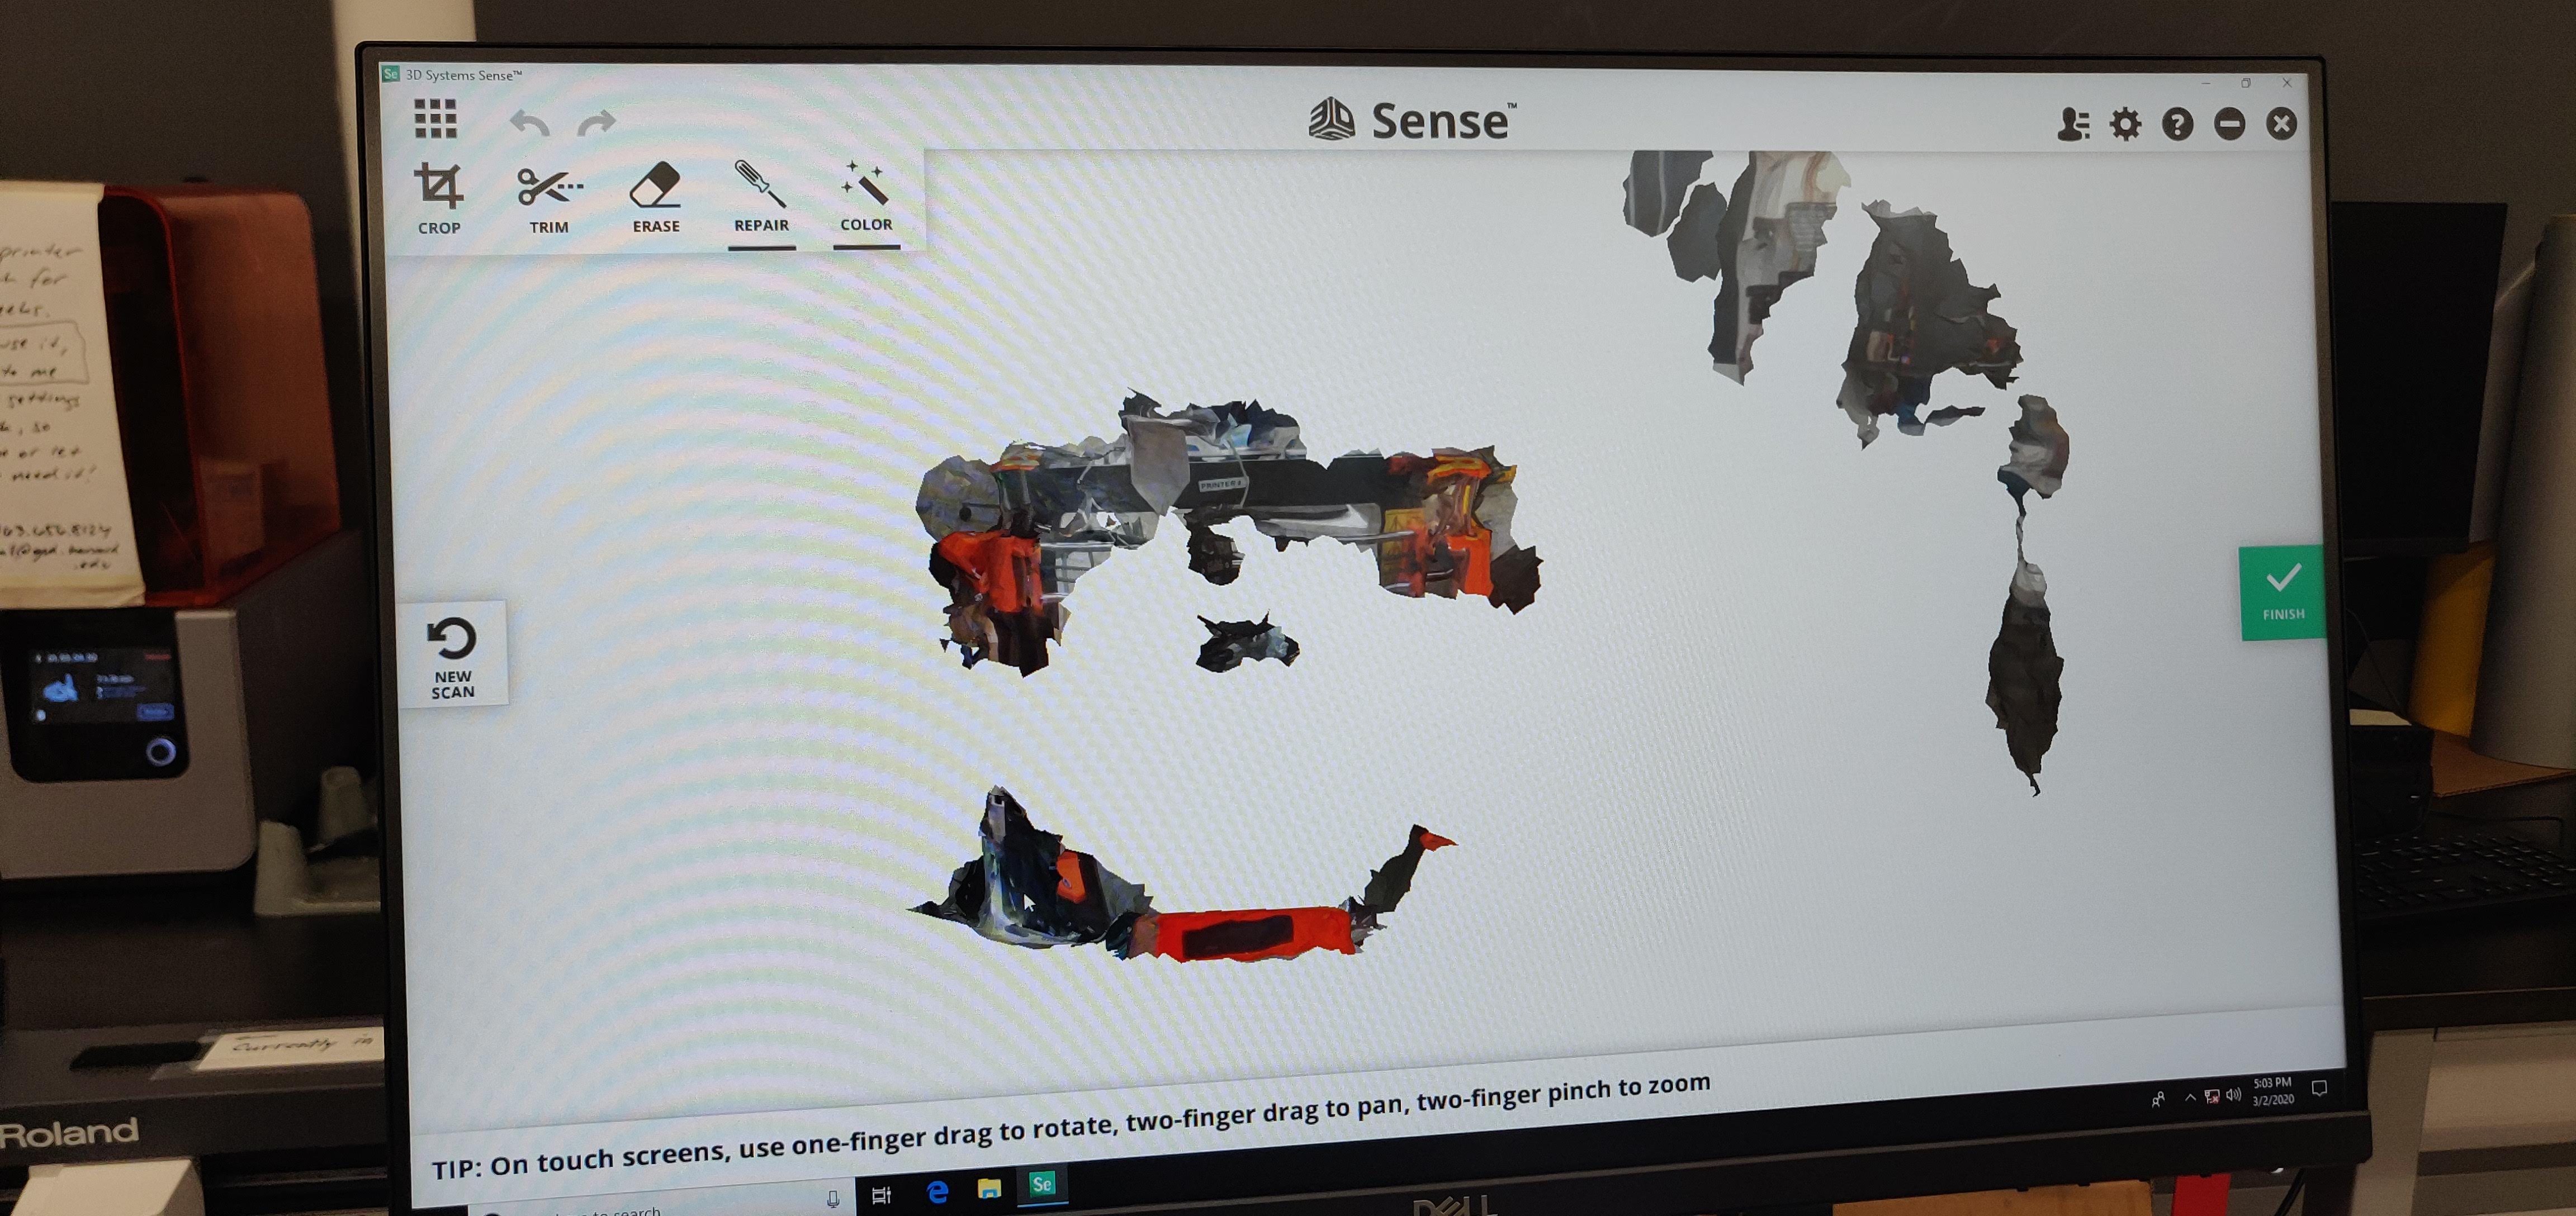
Scanning a 3D Printer
After assigning the pin values to the variables I used in my code, I made a loop that ran on forever, taking the sensor values and comparing it to the number 10 (cm away from the sensor). I used an if statement to make the motor spin clockwise at maximum speed if the sensor values were outputting values greater than 10 and made the motor stop spinning if the values read less than 10 (object comes too close to the board).
The key was to angle it in a way that allowed most of the object to fall within the circle enclosure. It worked some but the finished product was far from the real object. Ah welp.
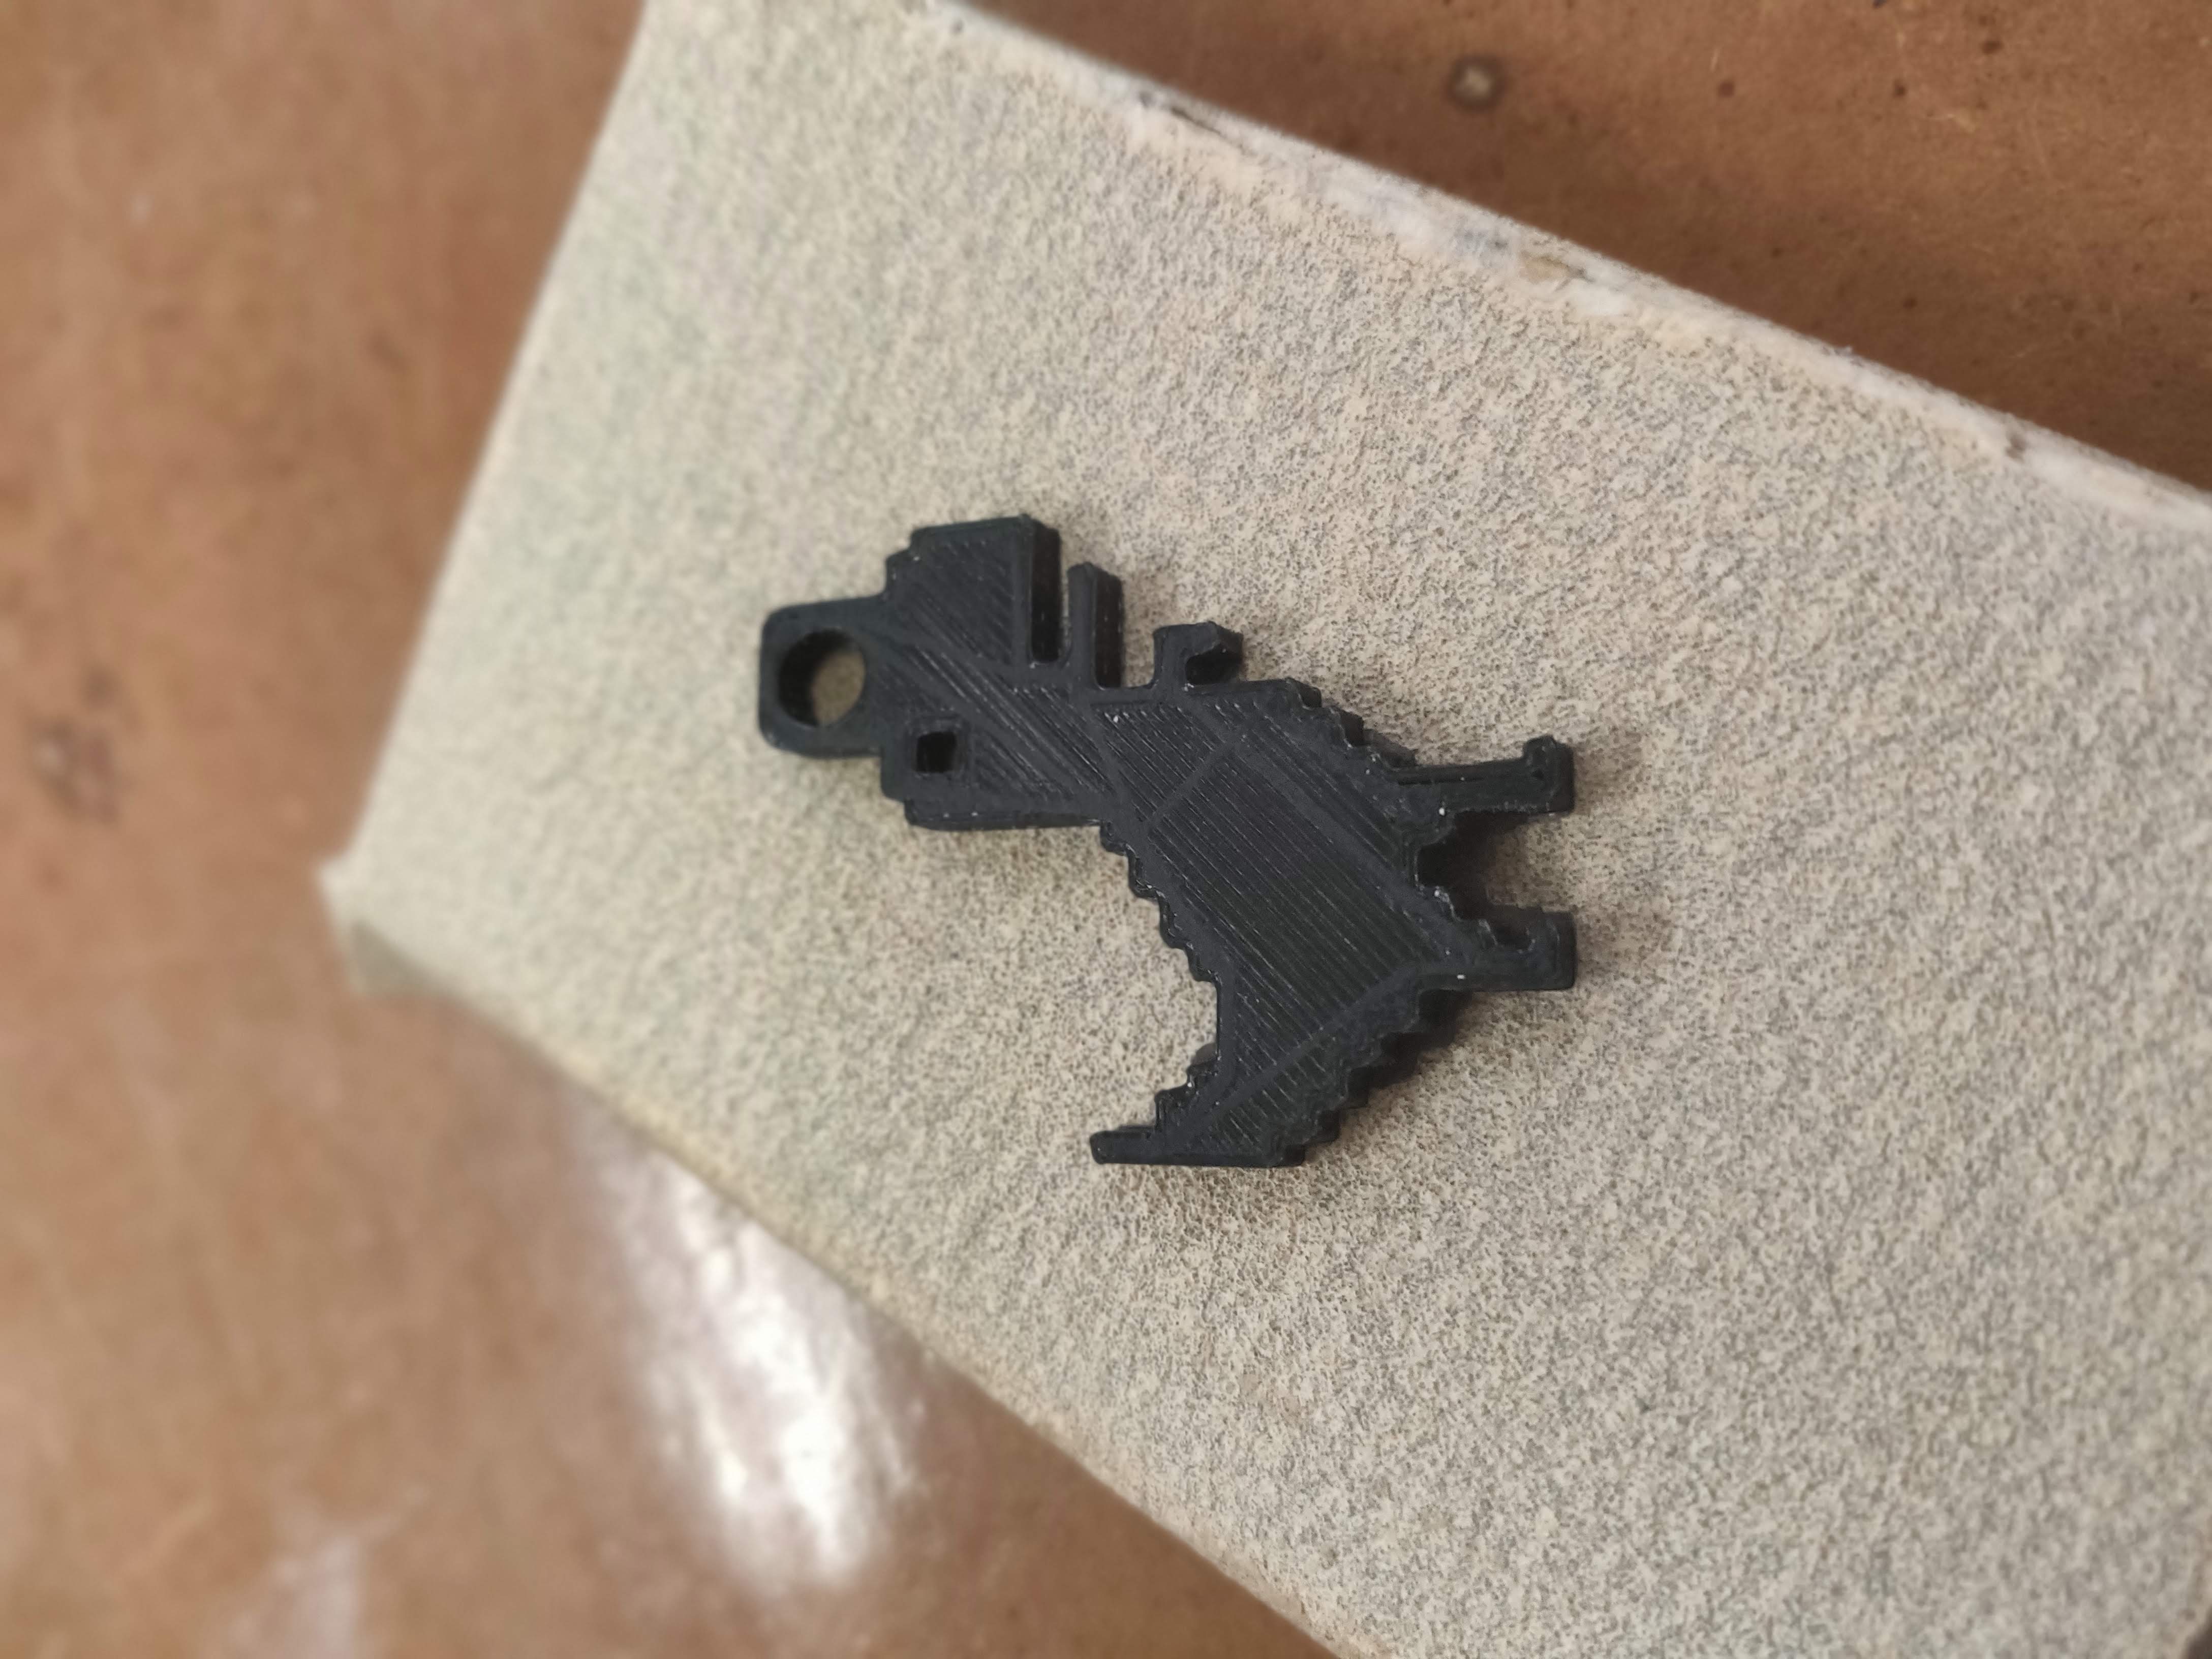
The Jumping Dinosaur
Hate it when you don't have Wifi? I kinda don't and so I printed this guy. Took only 15 minutes and can be used as a keychain! No, it doesn't jump over cacti.
Zoom! Zoom!
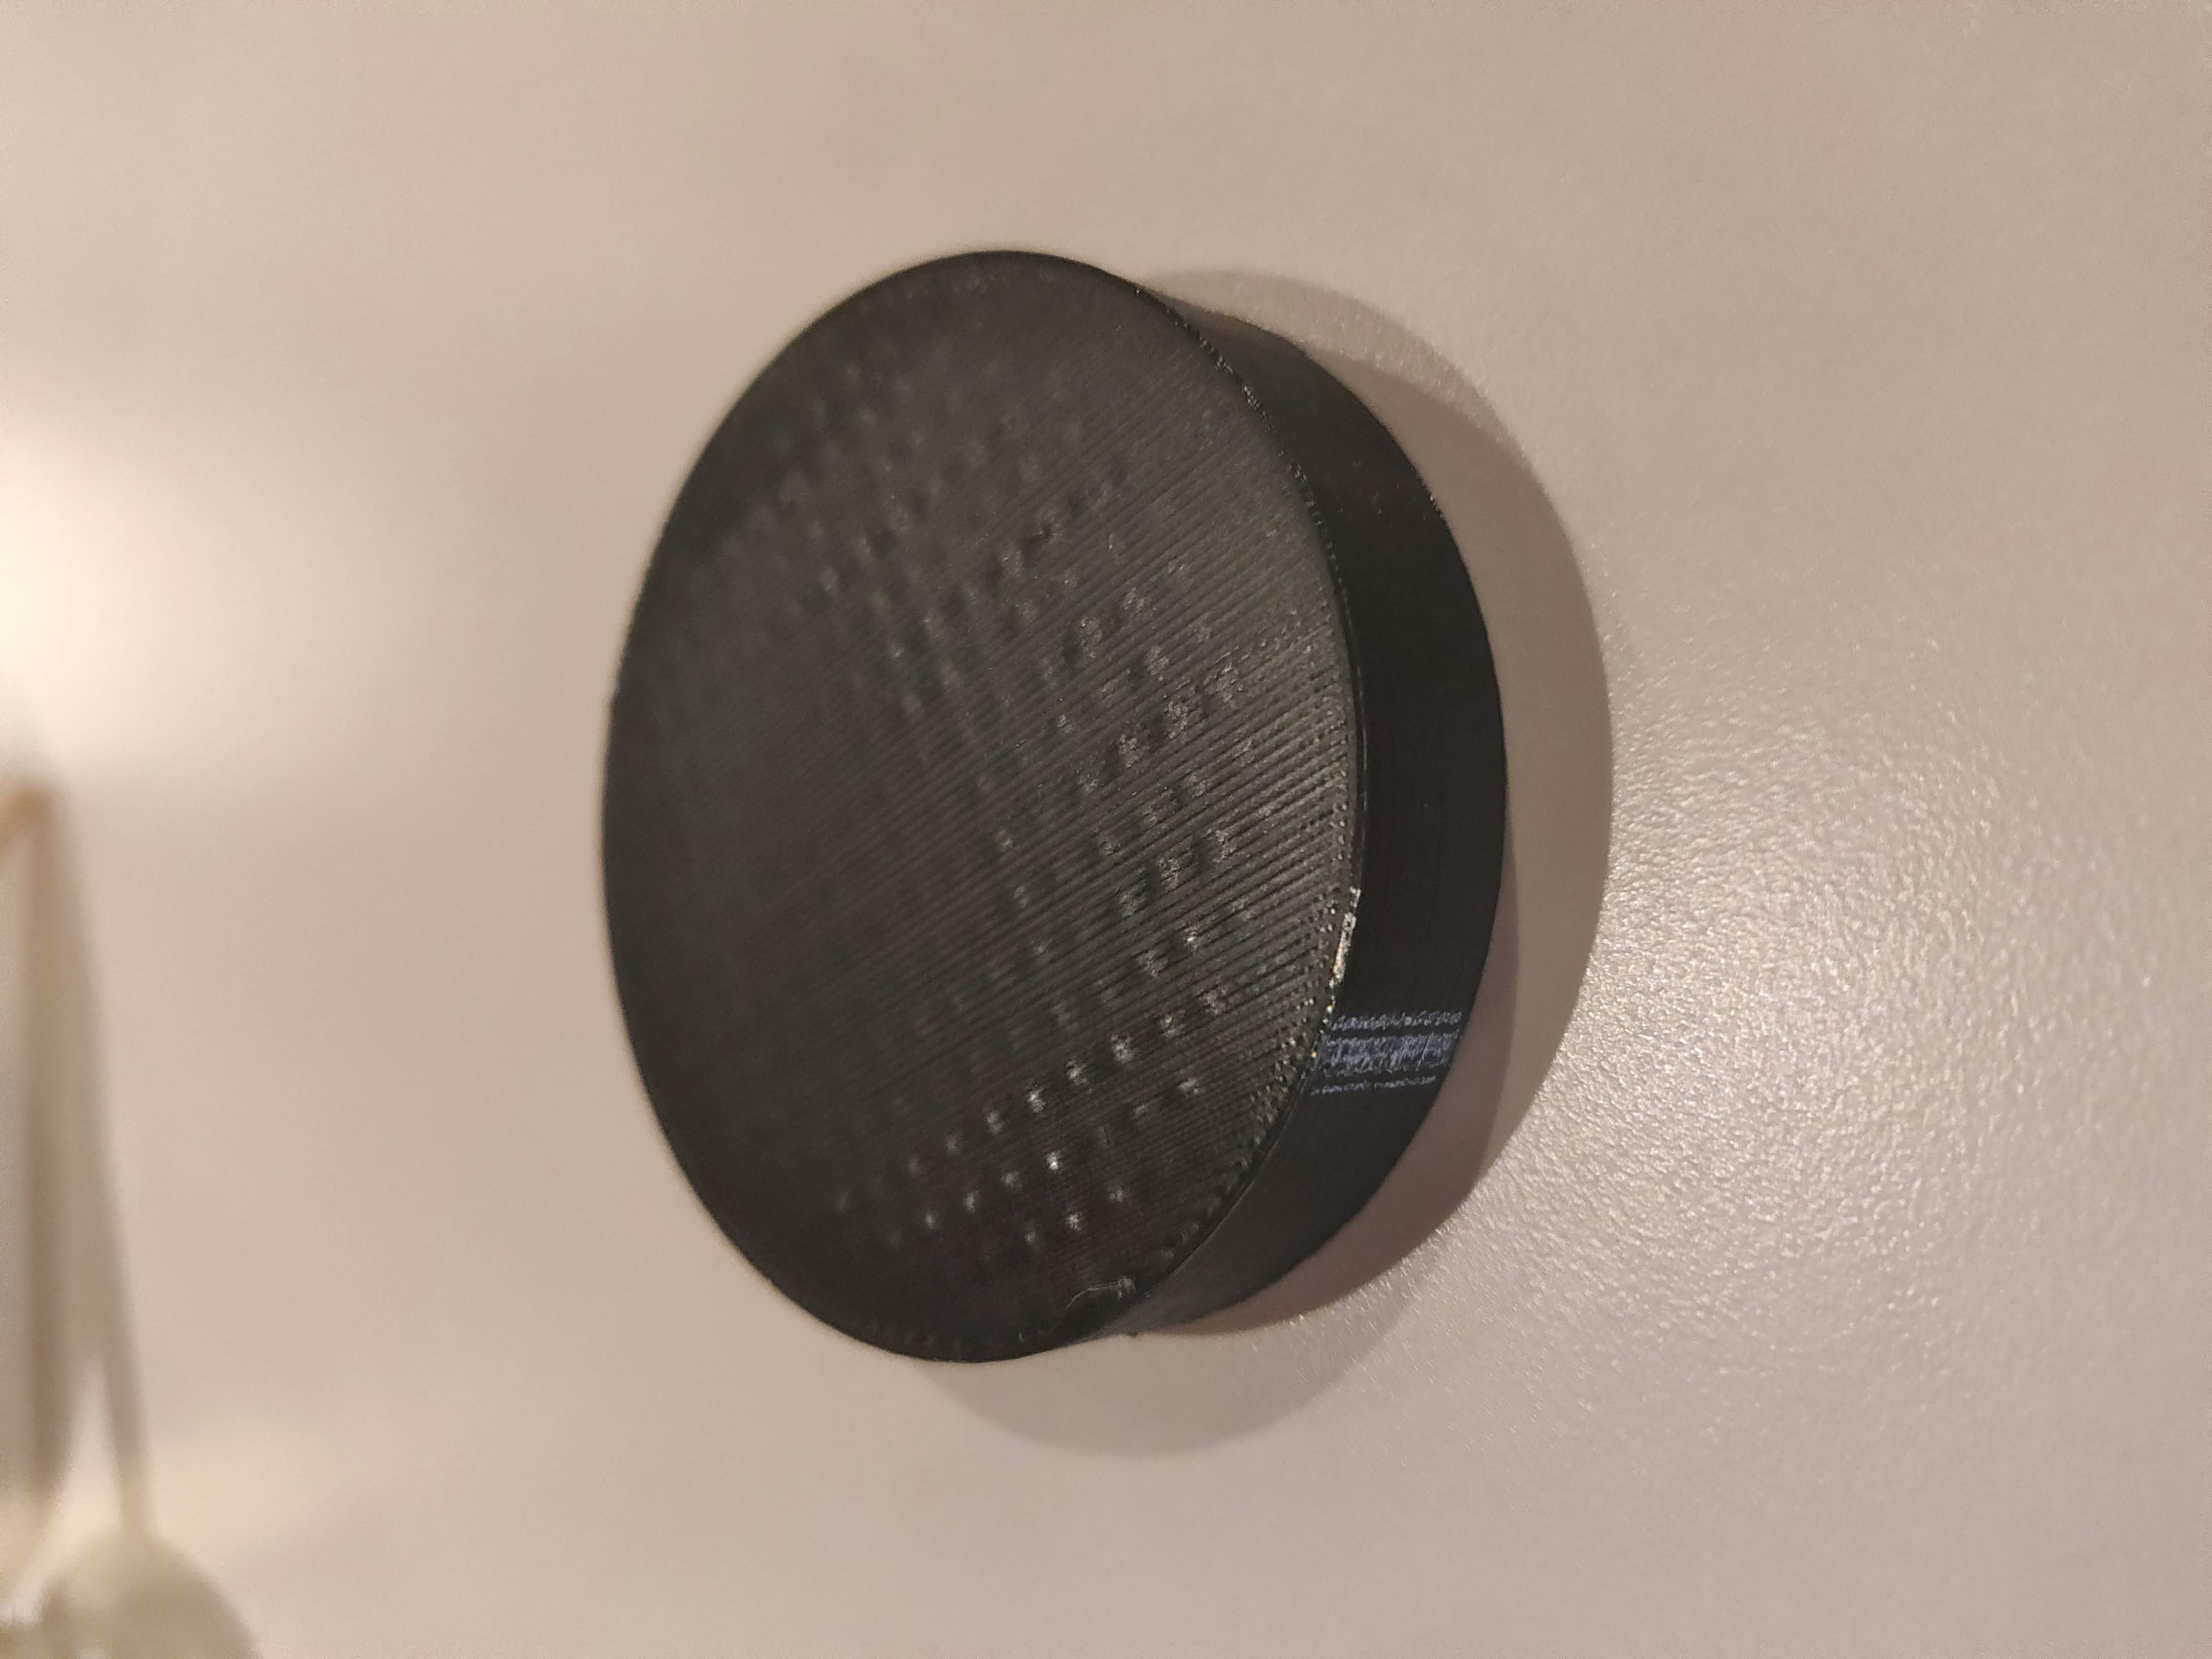
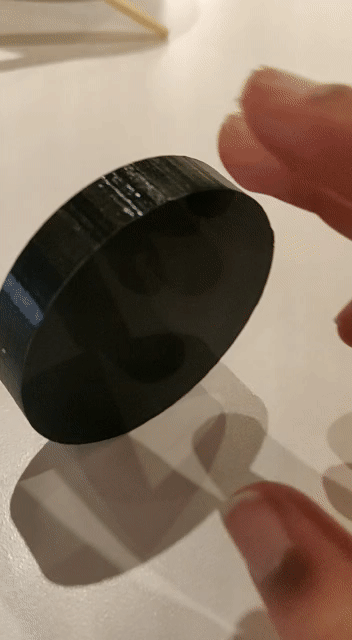
Something that is a lot easier to make through additive manufacturing is plastic wheels (compared to rubber which is easier to mold). Wheels can be difficult to shape with complete precisions and are simple to create in CAD software. Plus, I need them for my skateboard.
This is a simple protoytpe for now. I plan on making a 3 mm hole in the wheel to allow the motor shaft to go through, but since this was just a test, I decided to leave it out! The diameter was slightly larger than I was intending and the thickness was insufficient to support any tiny human on this planet. On the plus side, it rolls!